No products in the cart.


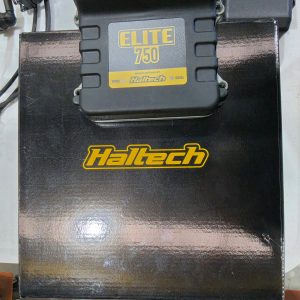
Jaguar V12 Haltech Elite 750 installation instructions
These instructions must be adhered to before calling for tech support
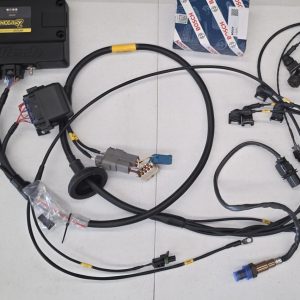
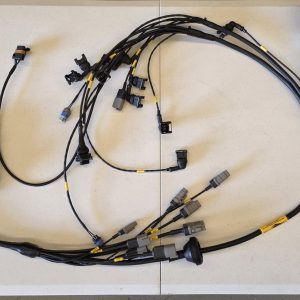
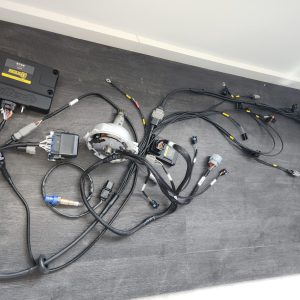
Notes on wiring loom connections
Fuel Pump = connect directly to positive of the fuel pump
B+ = connect the original battery positive stud on firewall
B- = connect to clean engine earth, usually on the LH Inlet manifold
Dis = connect modified distributor
TPS = connect modified throttle position sensor, LH throttle body
Idle = connect to idle control valve (if used)
ATS = connect to factory air temp sensor
CTS = connect to factory coolant temp sensor
INJ = connect to injector harness
MSD = connect to MSD ignition harness
IGN = connect into factory coil/ ballast wiring as follows:
Pink wire connects to ignition on 12v on factory loom (usually white wire)
Violet/Black wire connects to tacho on factory loom (usually white with a blue trace)
Notes on distributor
Step1 Turn over engine till timing mark on crank is lined up with 20 degrees btdc ensuring rotor in distributor is facing No1 post on cap.
Step 2 Remove original distributor and fit modified distributor ensure the centre of the rotor arm is lined up with number 1 post
Step 3 Engine should start and run at this point. Enable the lock timing in the Haltech software and using a timing light ensure timing on crankshaft is the same as the Haltech software lock timing setting. Adjustment can be made by moving the distributor a small amount to achieve a match in timing. Remember to set the lock timing mode in the Haltech to off once distributor is in the correct position.
Step 4 Ensure you have MAP sensor on the ECU connected to the appropriate vacuum source. If you are unsure please refer to Haltech ‘quick start guide’ pamphlet provided with your ECU.
Only logged in customers who have purchased this product may leave a review.

Reviews
There are no reviews yet.